Last week, we released a new user onboarding process to help new customers set up their OnSIP accounts. This new sequence makes it easy for account administrators to add new users and assign extensions immediately after account activation, without having to log in to the OnSIP Admin Portal.
What is User Onboarding?
User onboarding is the crucial period when a new customer is first exposed to your product and evaluates whether or not it’s a good fit for their needs. It involves gathering information from the user to understand what they need from your product to succeed. As software companies increasingly compete for customers, a user-friendly onboarding experience can make a huge difference by creating a good first impression.
At OnSIP, we understand that the last thing you want to do is spend hours setting up your new business phone system. We know that the faster you can get everyone set up with their phones, the better. That’s part of the reason why we built the OnSIP app in the first place - so that customers could make real test calls before purchasing and provisioning any desk phones.
With this in mind, we designed a new onboarding process that allows account admins to add new phone users right away.
How it Works
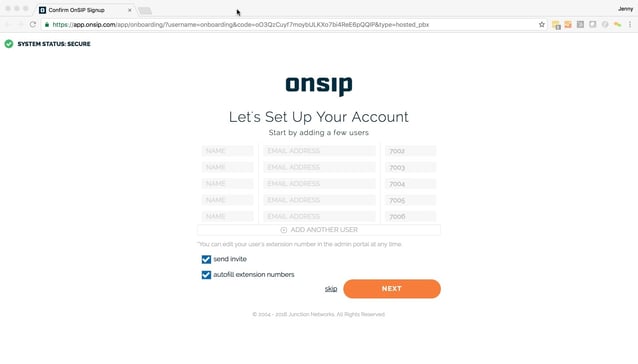
After you sign up for an OnSIP account, you will receive an email that asks you to activate your account. Clicking on the "Activate" button will take you to a page that looks like this:

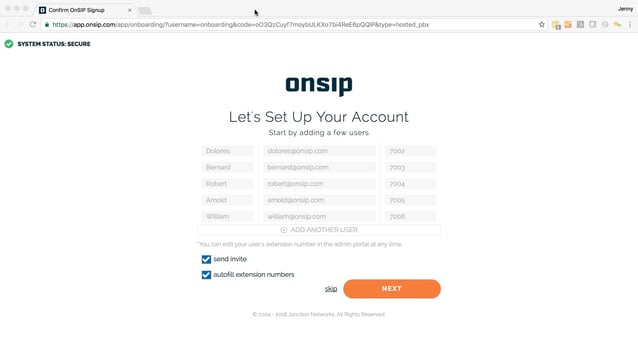
Here, you can see a grid of five rows with name, email address, and extension. Admin users can type in the full name and email address of each user they wish to add to their account. If there are more than five users, click on the “Add Another User” button to add more rows.
By default, all new users will receive a welcome email as soon as you confirm their personal information. The welcome email contains their SIP address, extension, and instructions on how to log in to the OnSIP app. If you do not wish to send this information, you can unselect the check box next to “send invite”.

Internal phone extensions are also auto-filled by default. The account admin user is automatically assigned the extension 7001, so the remaining users are assigned extensions starting with 7002. You can also choose to assign your own custom extensions instead of using the suggested ones.
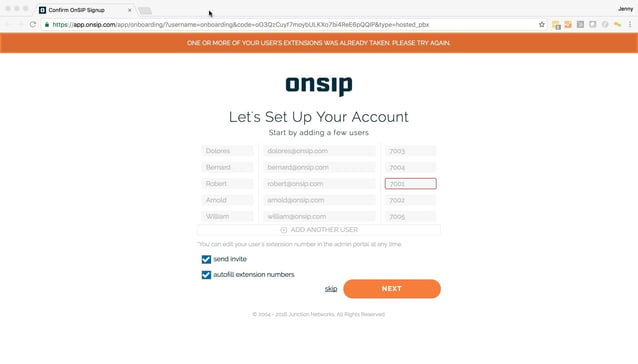
Once you have added your users, click “Next” to continue. If there is an error with any of the information, you will see the box in question highlighted.

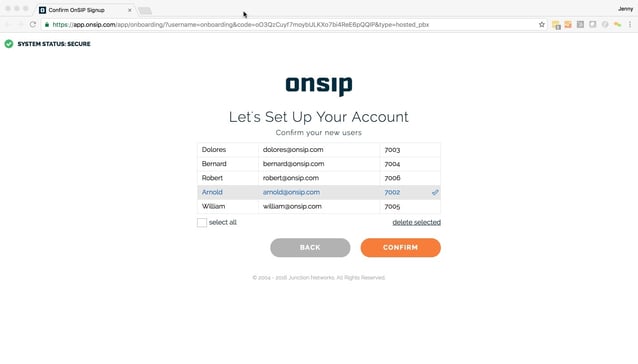
You will now see a list of all the users with their name, email, and extension (if applicable). If at this point you wish to make changes, you can click the “Back” button to return to the first page. To delete a user, select the individual row, or click the “select all” box to highlight all rows, then click “delete selected”.

Once you have verified all the users and their information, click “Confirm” to continue. This is a super fast way to achieve one phone line multiple extensions.
Account Setup Made Simple
At the end of the onboarding sequence, you will be directed to log in to the Admin Portal or the OnSIP app.
In the Admin Portal, you can continue to set up your account by adding resources and apps, like groups, voicemail boxes and phone numbers. In the OnSIP app, you can make test calls and explore the many features of our webphone, such as extension dialing, messaging and presence.

While we hope users find this onboarding sequence helpful, it is optional. Users can click "skip" on the first page to proceed directly to the Success page, and log in to the Admin Portal to add users the standard way. All account admins will receive an email upon activation with their SIP address and information on how to log in to the Admin Portal for future reference.
Please note that this new onboarding process does not change the way a user is added inside the Admin Portal. All users added during the onboarding process will simply appear with the user’s name, email, and extension as assigned in the Users tab, and can be customized at any time. For information on how to continue setting up your account in the Admin Portal, visit our Knowledgebase for step-by-step instructions.

